Mold Behind Wallpaper Removal: A Homeowner's Guide

BYSteve Jafari, General ManagerNORTHERN VIRGINIA, MARYLAND & D.C.
Mold behind wallpaper removal starts with containing the area and fixing the moisture source, because wallpaper glue plus trapped humidity creates a perfect food-and-water supply for mold. Never dry-scrape or tear off suspect wallpaper — that aerosolizes spores and can spread contamination through the whole house. Instead, mist the surface, remove it in controlled sections, and verify the wall is dry with moisture readings, not touch. For anything larger than about 10 square feet (the EPA's general DIY threshold), or any extensive dark growth, remediation belongs with a professional working to the ANSI/IICRC S520 standard.
Call 1-888-29-FLOODWhy does mold grow behind wallpaper in the first place?
Mold grows behind wallpaper because the space combines three things mold needs: organic food, trapped moisture, and a dark, still environment. Wallpaper adhesive is a cellulose- or starch-based paste that mold digests easily, and the wallpaper itself acts like a vapor barrier that holds humidity against the wall instead of letting it dry out.
In the Virginia, Maryland and Washington, D.C. climate, summer humidity routinely runs high, and any wall touching a cooler surface — an exterior wall, a wall behind a bathroom, or a basement wall — can reach dew point and condense moisture on the back face of the wallpaper. That hidden condensation never evaporates because the vinyl or paper covering seals it in. Over weeks, a thin film of water and glue becomes a mold colony you cannot see from the room side.
This is why mold behind wallpaper removal is as much about diagnosing a moisture problem as it is about taking down the covering. If you remove the mold but leave the humidity source, the colony simply regrows behind whatever you install next.
- Wallpaper glue (starch/cellulose paste) is direct food for mold
- Vinyl and foil wallpapers trap vapor against the wall, slowing evaporation
- Exterior and below-grade walls hit dew point and condense moisture
- Bathrooms, kitchens and laundry areas add constant humidity
- Past leaks or floods leave residual moisture the wallpaper locks in
How do you know if there is mold behind your wallpaper?
You often know there is mold behind wallpaper before you ever peel it, because the covering telegraphs the problem. Look for bubbling or lifting seams, discoloration bleeding through the surface, a musty or earthy smell that intensifies near the wall, and dark pink, orange, gray or black blotches showing faintly through the paper.
When wallpaper starts to peel on its own and reveals black or green staining underneath, that is a classic sign the adhesive has been feeding mold in a humid gap. Peeling is not just cosmetic failure — it usually means moisture has broken the glue bond, and wherever moisture goes, mold follows.
If you are unsure, a small, careful inspection of one lower corner tells you a lot. Gently lift a bottom edge in an inconspicuous spot; if the back of the wallpaper or the wall surface shows fuzzy growth, speckling, or black staining, stop and treat the whole wall as contaminated rather than continuing to pull.
- Bubbling, lifting, or wavy wallpaper seams
- Musty, earthy odor strongest at the wall
- Pink, orange, gray, green or black blotches showing through
- Peeling that reveals dark staining underneath
- Cool, damp-feeling walls, especially exterior or basement walls
- Recurring allergy or respiratory symptoms in one specific room
Is mold behind wallpaper dangerous to your health?
Mold behind wallpaper can affect your health, especially for people with asthma, allergies, or weakened immune systems, because disturbed colonies release spores — and some species produce mycotoxins — into the air you breathe. The risk rises sharply the moment you disturb it: intact, undisturbed mold releases far fewer airborne spores than mold you scrape or tear.
Common reactions include coughing, sneezing, watery eyes, nasal congestion, skin irritation, headaches, and worsened asthma. Prolonged exposure in a chronically damp room can keep these symptoms simmering with no obvious cause, which is why a musty bedroom or office is worth investigating.
The practical takeaway is simple: the health risk is manageable if the mold stays contained and is removed with proper controls, and it spikes if you rip wallpaper off a wall and send a cloud of spores through your home. That single mistake is the most common way a small, local problem becomes a whole-house contamination.
How do you remove mold behind wallpaper without spreading it?
To remove mold behind wallpaper without spreading it, you contain the area, lightly mist the wallpaper so spores stay wet and heavy, remove the covering in controlled sections rather than dry-tearing it, and bag everything immediately. The entire goal is to keep spores from becoming airborne, because dry removal is what spreads mold across a home.
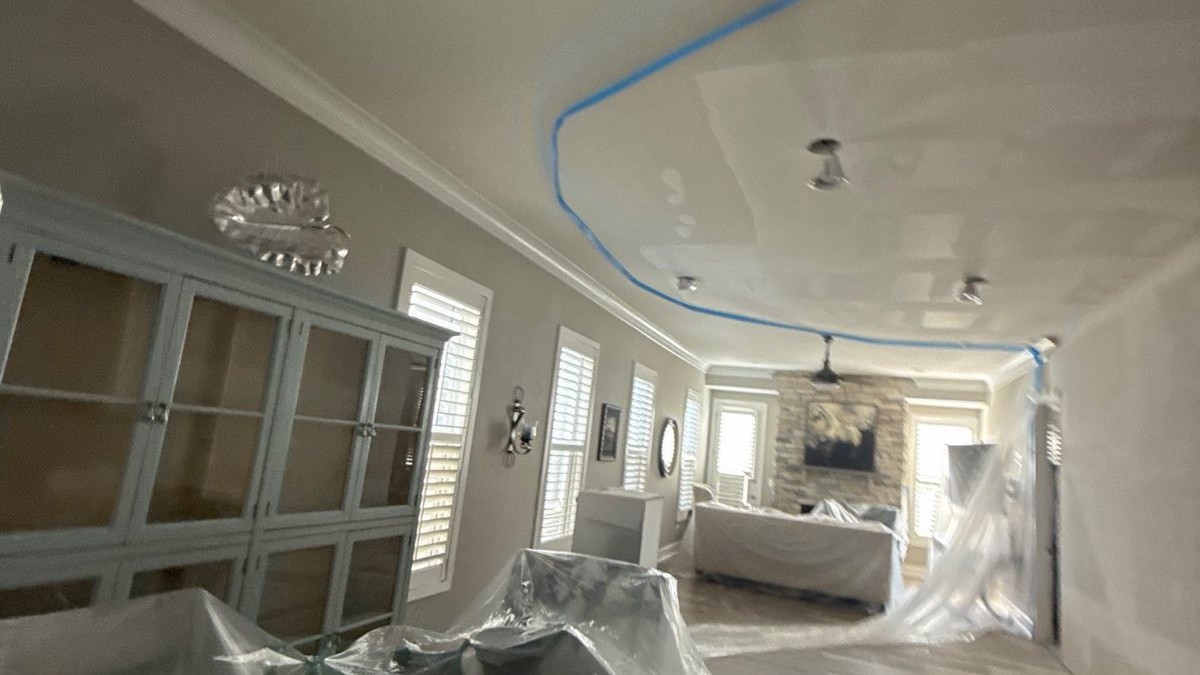
Before touching anything, fix or at least stop the moisture source — a leak, high humidity, or condensation — otherwise remediation is temporary. Then isolate the room by closing doors, sealing supply and return vents, and hanging plastic sheeting so spores cannot drift into hallways and the HVAC system.
The sequence below reflects the controlled approach used under the ANSI/IICRC S520 Standard for Professional Mold Remediation. For small, surface-level growth on a non-porous wall, a careful homeowner may be able to do this safely; for extensive dark growth, large areas, or drywall that has gone soft, it belongs with a professional.
| Step | What you do | Why it matters |
|---|---|---|
| 1. Stop the moisture | Fix the leak or lower humidity before removal | Prevents immediate regrowth |
| 2. Contain the room | Close doors, seal vents, hang plastic sheeting | Keeps spores from spreading via air and HVAC |
| 3. Suit up | N95 or better respirator, gloves, eye protection | Protects you during disturbance |
| 4. Mist, don't dry-scrape | Lightly wet the wallpaper surface | Weighs down spores so they stay put |
| 5. Remove in sections | Peel slowly, bag debris as you go | Limits airborne release |
| 6. Clean the substrate | Wipe and HEPA-clean non-porous surfaces; discard porous ones | Removes residual growth and the glue food source |
| 7. Dry and verify | Dry the wall and confirm with moisture-meter readings | Confirms the wall won't re-mold |
Can you remove mold behind wallpaper yourself, or do you need a professional?
You can tackle mold behind wallpaper yourself only if the affected area is small — the EPA's general guideline is under about 10 square feet — the growth is surface-level on a non-porous, intact wall, and there is no sign the drywall or plaster behind it is soft, stained through, or water-damaged. Anything beyond that calls for a professional who works to ANSI/IICRC S520.
Size and depth matter because mold on the surface of a wall is one problem; mold that has colonized the drywall paper, the glue layer, and the cavity behind it is another entirely. You cannot clean mold out of porous drywall — contaminated drywall has to be cut out and replaced, and doing that without containment releases enormous spore loads into the air.
Call a professional if the growth is extensive or dark, if the wall feels damp or spongy, if the mold keeps coming back, or if anyone in the home has asthma, allergies, or a compromised immune system. If the moisture came from a burst pipe left standing, a sewage backup, or outside floodwater, treat it as Category 2 or Category 3 water under the IICRC S500 and involve a professional immediately.
- DIY may be reasonable: under ~10 sq ft, surface-only, non-porous, dry wall behind
- Call a pro: extensive or dark growth, soft or stained drywall
- Call a pro: recurring mold, musty smell that won't clear
- Call a pro: vulnerable occupants (asthma, allergies, immune issues)
- Call a pro immediately: mold tied to a long-standing leak, sewage, or flood
What does professional mold remediation behind wallpaper involve?
Professional mold remediation behind wallpaper follows ANSI/IICRC S520 and starts with a moisture and mold assessment to map how far the colony has spread. The crew then builds containment, runs negative air pressure with HEPA filtration, removes the wallpaper and any unsalvageable drywall under controlled conditions, HEPA-vacuums and cleans the remaining structure, and dries everything to a verified drying goal before any rebuild.
At Restoration Doctor, that process is documented throughout — daily moisture logs, CompanyCam photo documentation, and a written Xactimate scope — so you have a clear record of what was found and what was done. Our median on-site arrival across the Virginia, Maryland and D.C. tri-state area is 45 minutes, and a typical structural dry-out runs about 4.5 days, monitored daily until moisture readings confirm the wall is actually dry rather than just dry to the touch.
Verification is the step DIY almost always skips. A surface can feel dry while the drywall core still holds enough moisture to re-grow mold within weeks. Professionals use moisture meters and psychrometric readings to confirm the material has returned to a documented drying goal, which is the only reliable way to know the problem is solved.
- Moisture mapping and mold assessment to find the full extent
- Containment plus negative air pressure and HEPA filtration
- Controlled removal of wallpaper and unsalvageable drywall
- HEPA vacuuming and cleaning of the remaining structure
- Drying to a verified drying goal with daily moisture logs
- Documented scope and photos for your records
How do you stop mold from coming back behind new wallpaper?
You stop mold from returning by controlling moisture permanently before you cover the wall again, because mold cannot grow without water no matter how much glue is present. Keep indoor relative humidity below about 50 percent, ventilate humid rooms, and make sure the wall itself is fully dry and clean before any new covering goes up.
In our climate, that often means running a dehumidifier in basements and lower-level rooms through the humid months, using bathroom and kitchen exhaust fans every time, and addressing cold exterior walls that condense moisture. If a leak caused the original problem, repairing that leak is the single most important prevention step — fresh paint or new wallpaper will not outlast an active water source.
When redecorating a room that had mold, consider whether wallpaper is the right choice for that wall at all. In chronically humid or exterior-wall locations, a breathable paint finish lets the wall dry outward instead of trapping vapor the way vinyl wallpaper does.
- Keep indoor humidity below ~50%, with a dehumidifier if needed
- Run exhaust fans in bathrooms, kitchens and laundry areas
- Repair the original leak or condensation source completely
- Confirm the wall is dry with moisture readings before recovering
- Favor breathable finishes over vinyl wallpaper on damp or exterior walls
Does insurance cover mold behind wallpaper, and what does removal cost?
Whether insurance covers mold behind wallpaper depends on the cause: most policies cover mold that results from a sudden, accidental covered event — like a burst pipe — but exclude mold from long-term neglect or chronic humidity. Because the cause determines coverage, clear documentation of what happened matters as much as the cleanup itself.
Cost varies with how much wallpaper and drywall must be removed, how far the mold spread, how many days of drying are required, and whether reconstruction is needed afterward. For that reason, mold behind wallpaper removal typically runs in the thousands, and the real figure only comes after an on-site inspection — anyone quoting a flat price sight-unseen is guessing.
Restoration Doctor bills you, the homeowner, directly and hands you a carrier-ready claim file — an Xactimate scope, CompanyCam photos, and daily moisture logs — so you can submit a clean, well-documented claim. We work for you, not your insurance company, and that documentation is what helps a legitimate claim get approved. Call 1-888-293-5663 to get started, or learn more on our insurance claims page.