Dishwasher, Washer, or Water Heater Leak: What To Do
BY RESTORATION DOCTOR · NORTHERN VIRGINIA, MARYLAND & D.C.
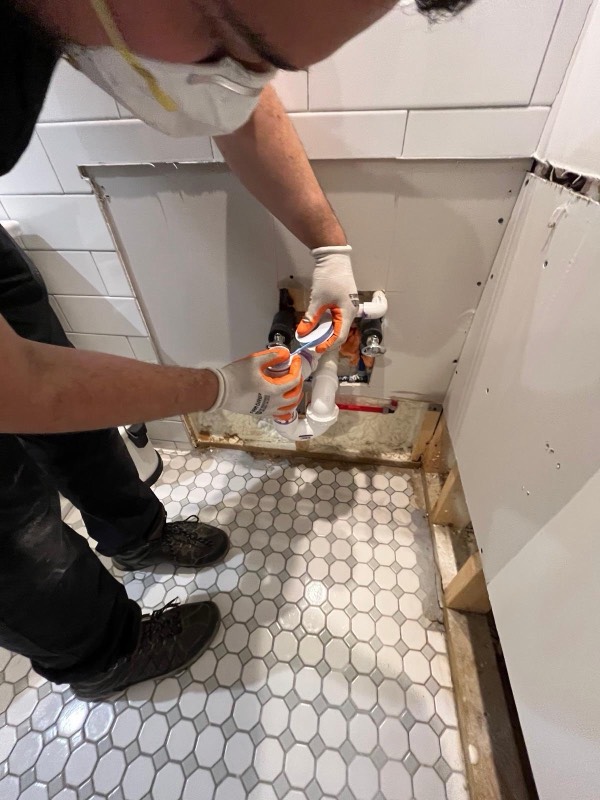
For appliance leak water damage, immediately shut off the appliance's water supply valve, cut power to the unit, and remove standing water. Then pull the appliance out and check the cabinet base, baseboard, and subfloor behind it, because slow supply-line leaks cause the worst hidden damage. Materials that stay wet past 24 to 48 hours are at risk for mold, so if flooring, drywall, or cabinetry got wet — or the leak sat for hours — call a licensed restoration company like Restoration Doctor at 1-888-293-5663 for professional structural drying before mold sets in. We serve the Virginia, Maryland, and Washington, D.C. tri-state area with 24/7 emergency response.
Call 1-888-29-FLOODWhat should I do first when an appliance is leaking water?
Shut off the water supply to the leaking appliance immediately, then cut its power. These two actions stop the flow and remove the electrical hazard, and together they prevent the majority of avoidable appliance leak water damage.
Every water-using appliance has a dedicated shut-off valve nearby: a dishwasher's valve is usually under the adjacent kitchen sink, a washing machine has hot and cold valves in the wall box behind it, and a water heater has a cold-water inlet valve on top of the tank. If you can't find or turn the local valve, shut off your home's main water supply, which is typically located where the service line enters the house — near the front foundation wall, in the basement, or in a utility area near the water meter.
Once the water is off, unplug the appliance or switch off its breaker before you touch any standing water. Then remove water fast with towels, a mop, or a wet/dry vacuum, and lift anything sitting on the wet floor. The first hour matters most: while the spill still looks like a simple puddle, water is already wicking into porous materials like cabinet particleboard, baseboard, drywall, and subfloor, where it becomes much harder to remove.
- Turn off the appliance's local shut-off valve (or the home's main valve).
- Cut power: unplug the unit or flip its breaker before touching water.
- Remove standing water with towels, a mop, or a wet/dry vac.
- Lift rugs, boxes, and stored items off the wet floor.
- Photograph everything before you clean up — you'll want it for your insurance file.
How do I stop a specific leak from a dishwasher, washer, or water heater?
The shut-off point is different for each appliance, so knowing exactly where to go saves critical minutes. In all three cases the goal is the same: stop the supply, then contain what has already escaped.
A dishwasher leak is stopped at the hot-water valve under the kitchen sink, where the braided supply line tees off the sink's supply. A washing machine leak is stopped at the hot and cold valves in the wall box directly behind the machine; turn both fully clockwise. A water heater leak is stopped at the cold-water inlet valve on top of the tank. If the tank itself is failing, also shut off the gas or electric supply to the unit and, for a ruptured tank, connect a hose to the drain valve and route the water to a floor drain or outside.
Water heaters deserve extra caution. A slow drip from a fitting is very different from a corroded tank weeping at the bottom seam — that seepage signals the tank is failing and could eventually release its full 40 to 50 gallons at once, plus a continuous flow from the supply line if the valve stays open. If you see rust-colored water pooling under the tank, treat it as an urgent replacement, not a repair.
| Appliance | Where to shut off water | Also do this |
|---|---|---|
| Dishwasher | Hot-water valve under the kitchen sink | Unplug or flip the breaker; check the toe-kick area |
| Washing machine | Hot & cold valves in the wall box behind it | Unplug; pull the machine out to inspect the wall and floor |
| Water heater | Cold-water inlet valve on top of the tank | Shut off gas/electric; drain the tank if it ruptured |
Why is a slow supply-line leak more dangerous than a big spill?
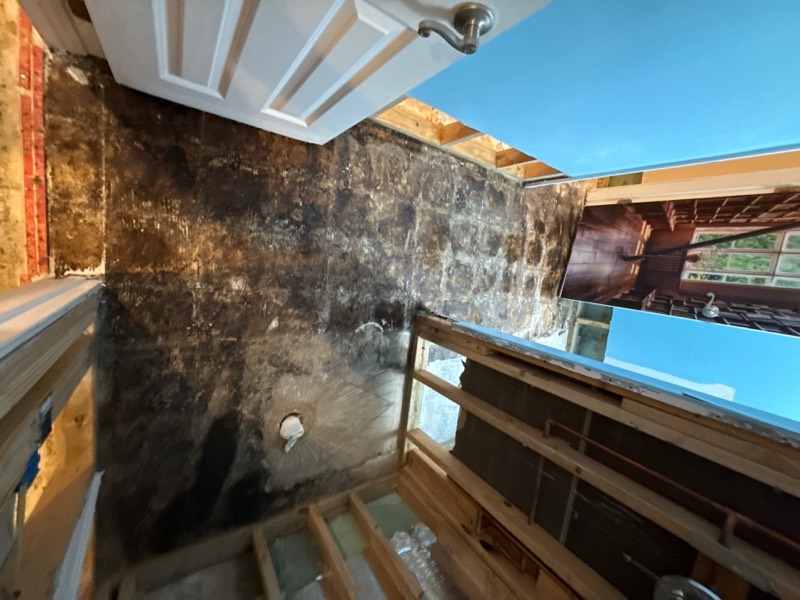
A slow supply-line leak is often more destructive than an obvious flood because it stays hidden for weeks or months, soaking into cabinet bases, subfloor, and wall cavities where no one can see it. By the time water finally reaches an open floor, the concealed materials behind and beneath the appliance may already be saturated and beginning to rot or grow mold.
The classic culprit is a braided or plastic supply line that develops a pinhole, or a compression fitting that weeps at the threads. It doesn't gush; it releases a steady trickle that surrounding materials absorb before it can pool. Under a dishwasher, this water wicks into the particleboard cabinet floor and the kitchen subfloor. Behind a washing machine, it runs down the wall cavity to the sill plate. Under a water heater in a closet or garage, it spreads across the slab and wicks up into adjacent drywall.
Because the water evaporates slowly in an enclosed space, humidity climbs and stays high — exactly the condition mold needs. Damp organic materials should be dried within 24 to 48 hours to prevent mold growth, and a chronic leak supplies that moisture continuously. This is also why water category matters: the ANSI/IICRC S500 standard recognizes that water which starts out clean (Category 1) can deteriorate to Category 2 or worse over time as it sits in contact with building materials and supports microbial growth. Our technicians treat any long-running appliance leak with that deterioration in mind, even when the visible water looks clean.
What are the warning signs of hidden cabinet or subfloor water damage?
The earliest warning signs of hidden appliance leak water damage are a musty smell, warped or discolored flooring, and a soft or spongy spot near the appliance. If you notice any of these, water has likely been present long enough to reach the subfloor.
Kitchen and laundry areas hide damage especially well because the appliance itself covers the wettest zone. Look at the toe-kick panel under your cabinets, the baseboard behind the washer, and the flooring seams where planks or tiles meet. Swelling, cupping, dark staining, peeling laminate, and lifting caulk are all telltale signs. A cabinet base that feels crumbly or looks darkened along the bottom edge has almost certainly been wet for a while.
Trust your nose and your feet. A persistent musty or earthy odor in a kitchen or laundry room usually means moisture is trapped somewhere you can't see, and a floor that flexes underfoot signals the subfloor has lost strength. If you can, pull the appliance out and shine a light behind and beneath it — this single step reveals damage that a surface-level inspection always misses.
- Musty or earthy smell near the dishwasher, washer, or water heater
- Warped, cupped, or discolored flooring and lifting laminate
- Soft, spongy, or bouncy spots underfoot
- Dark staining or swelling at the base of cabinets and baseboards
- Peeling paint, bubbling drywall, or rust stains low on the wall
- Buckled toe-kick panels under the kitchen cabinets
Can I dry out appliance water damage myself, or do I need a professional?
You can handle a small, fresh spill yourself if the water is clean, the affected area is under about 10 square feet, and only the surface of a hard floor got wet. Anything beyond that — water that reached cabinets, subfloor, or drywall, or that sat for hours — needs professional structural drying.
The problem with do-it-yourself drying is that surfaces dry long before the materials underneath them do. A floor can feel dry to the touch while the subfloor beneath still holds moisture well above its normal dry level. Household fans move air across surfaces but don't remove humidity from the room, so trapped moisture simply migrates deeper into the structure and continues to feed mold. Professionals work differently: they map the wet area with moisture meters, establish a drying goal based on readings from unaffected reference materials in the same home, and size commercial low-grain refrigerant dehumidifiers and air movers to the space per the S500 standard.
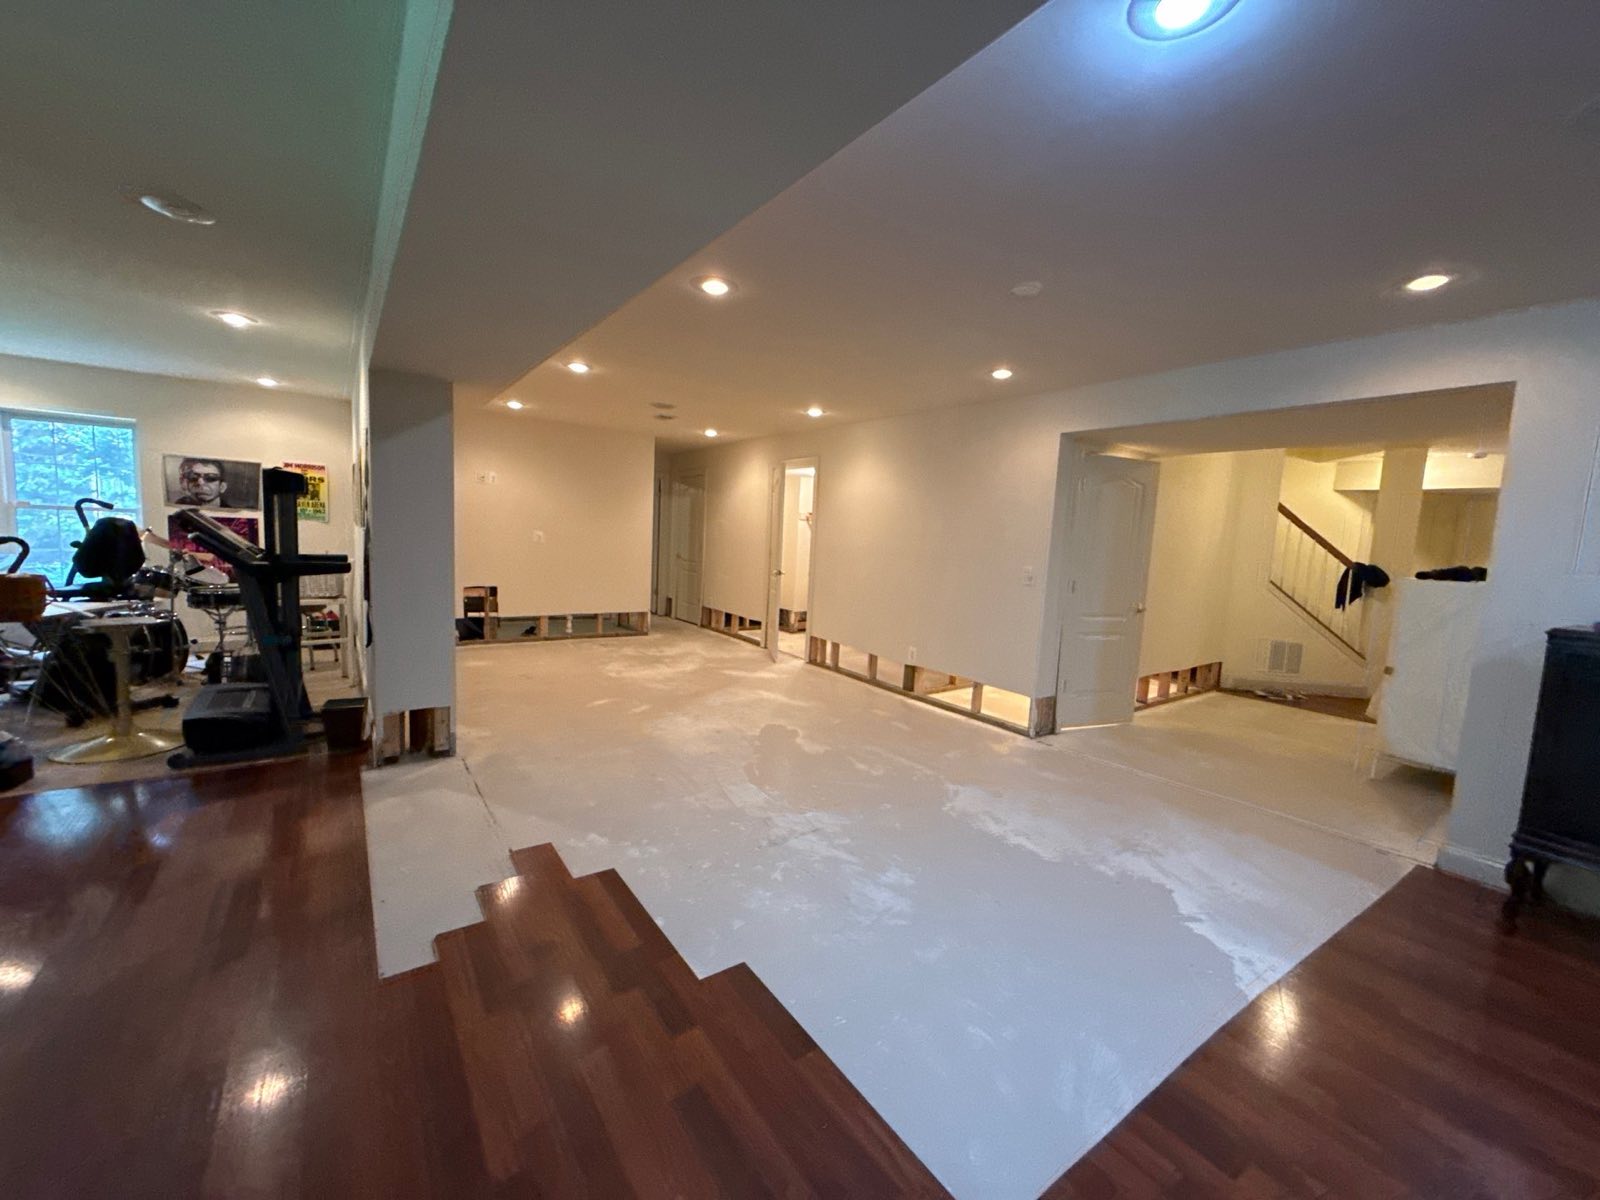
At Restoration Doctor, a typical structural dry-out runs about 4.5 days and is monitored with daily moisture logs until materials hit a verified drying goal — not just a dry-feeling surface. We've completed more than 26,000 restoration jobs across the Virginia, Maryland, and Washington, D.C. tri-state area, and the appliance leaks we see are almost always wetter and deeper than the homeowner expected. If you're unsure, a moisture inspection is far cheaper than replacing a rotted subfloor and a run of cabinets later.
How fast do I need to act to prevent mold after an appliance leak?
Act within 24 to 48 hours. That is the window EPA identifies for drying water-damaged materials to prevent mold growth, and once growth starts, the job shifts from straightforward drying to mold remediation performed in accordance with the ANSI/IICRC S520 standard — which typically means containment, controlled removal, and more cost.
The clock matters most for hidden leaks, because the moisture has usually been present far longer than you realize. If a supply line has been weeping for weeks, mold growth may already be underway inside the cabinet or wall cavity by the time you discover the puddle. Even then, fast professional drying still limits how far the growth spreads and how much material ultimately has to be removed.
This is why speed of response drives outcomes. Restoration Doctor offers 24/7 emergency response across the Virginia, Maryland, and D.C. tri-state area, with a median on-site arrival of 47 minutes in the Northern Virginia core. Getting professional-grade dehumidification running quickly is the single most effective way to keep a water-damage cleanup from becoming a mold-remediation project. If you already smell mold or see visible growth, don't disturb it — brushing or vacuuming colonized material spreads spores. Call us and we'll contain it properly.
Will insurance cover appliance leak water damage, and how does billing work?
Most homeowners insurance policies cover sudden and accidental appliance leaks, such as a burst supply line or a ruptured water heater tank. Coverage is far less likely for long-term seepage, which insurers typically classify as a maintenance issue and exclude — one more reason to catch and document slow leaks early. Your specific policy language controls, so read it or ask your agent.
Many of our customers file an insurance claim, and here's how billing actually works: Restoration Doctor bills you, the homeowner, directly. We do not bill your insurance carrier. What we provide is a complete, carrier-ready claim file — an Xactimate scope of work, CompanyCam photo documentation, and daily moisture logs — so your adjuster has everything needed to evaluate the claim. We work for you, not your insurance company.
To protect your claim, document the scene before you clean up: photograph the standing water, the failed part, and the damaged materials. Keep the failed supply line, hose, or valve as physical evidence. And engage a restoration company promptly — insurers expect reasonable mitigation, and damage that worsens because drying was delayed can be attributed to that delay rather than the original leak. You can learn more about how the process works on our insurance claims page.
How do I prevent the next appliance leak from happening?
The most effective prevention is replacing rubber and plastic supply lines with braided stainless steel hoses and inspecting them on a schedule. Most catastrophic appliance floods trace back to a supply line or hose that simply aged out and failed under constant pressure.
Washing machine hoses are the biggest offender because they hold full line pressure around the clock, even when the machine isn't running. Replace them roughly every five years, and turn off the wall valves when you're away for extended periods. Conventional tank water heaters have a typical service life of roughly 8 to 12 years; if yours is older and showing rust at the base, plan to replace it before it ruptures. Dishwasher connections should be checked for corrosion or seepage whenever you clean under the sink.
A few inexpensive habits catch problems before they become emergencies. Look behind and beneath your appliances a couple of times a year, put battery-powered leak-detection alarms in the drain pan under the water heater and behind the washer, and make sure everyone in the household knows where the main shut-off valve is before anyone ever needs it.
- Swap rubber washer hoses for braided stainless steel; replace them about every 5 years.
- Shut off washer valves when traveling for extended periods.
- Replace tank water heaters proactively around 8–12 years, sooner if rusting.
- Install leak-detection alarms in drain pans and behind appliances.
- Inspect under the kitchen sink and behind appliances twice a year.
- Know where every appliance shut-off valve — and your main valve — is located.